

Table of Contents
1. The Golden Rules: Weight, Balance, and Accessibility1.1 Low and Centered is King
1.2 Side-to-Side Balance is Non-Negotiable
1.3 Zone Packing for Easy Access
2. Step-by-Step: How to Pack Saddlebags the Right Way
2.1 Step 1: Gather and Prioritize
2.2 Step 2: The Base Layer (The Heavy Stuff)
2.3 Step 3: The Core Layer (The Bulky Stuff)
2.4 Step 4: The Top Layer (The Quick-Grab Items)
2.5 Step 5: The Final Five-Minute Check
3. Product Matters: Why Quality Luggage Makes Packing Easier
4. Protecting Valuables and Riding in All Weather
5. Maintenance: Caring for the Gear That Carries the Gear
6. The Pre-Ride Packing Checklist
The Golden Rules: Weight, Balance, and Accessibility
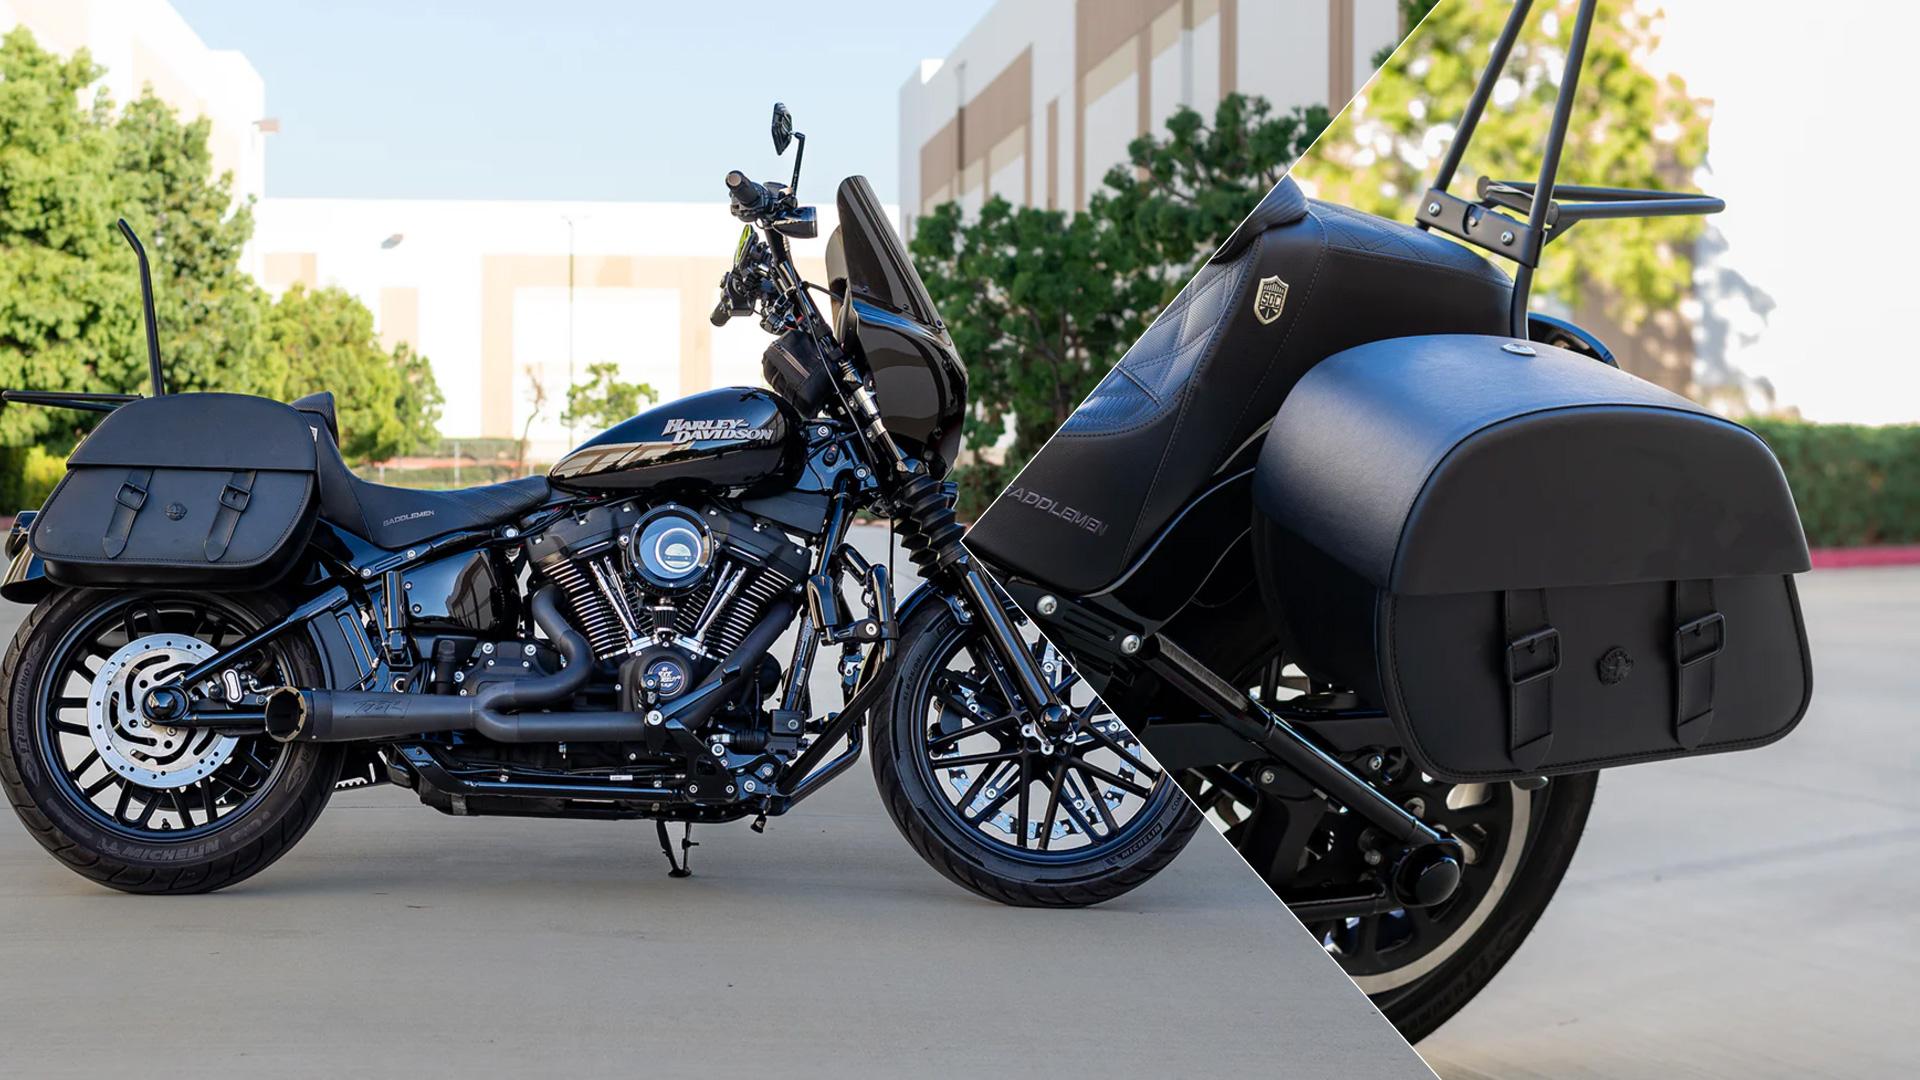
Before diving into the “how,” it is vital to understand the physics of a loaded motorcycle. Adding weight changes how a bike accelerates, brakes, and leans. Ignoring this can turn a nimble cruiser into a sluggish, unpredictable hazard. There are three core principles to live by:
Low and Centered is King
Heavy items carry momentum. If that momentum is high up or far back, it fights the rider in every turn. Always pack the heaviest gear, tools, cooking equipment, and heavy footwear at the very bottom of the saddlebags. This keeps the center of gravity low, maintaining the bike’s natural stability.
Side-to-Side Balance is Non-Negotiable
Imagine carrying a heavy suitcase in only one hand while trying to run in a straight line. A motorcycle feels the same imbalance. An overloaded right bag will pull the bike to that side, especially during low-speed turns or when taking hands off the bars, and even out the weight. If one side has a tool roll, the other should have a similarly weighted item, such as a jacket or a bag of clothes. The goal is to match the weight within a pound or two on each side.
Zone Packing for Easy Access
There is nothing worse than being caught in a sudden rainstorm and having to unpack an entire bag to find a rain suit. This is where “zone packing” changes the game. Treat your luggage system like a house with different rooms:
- The Immediate Access Zone: Items needed while riding or during short fuel stops (wallet, toll pass, phone, sunglasses, snacks).
- The Secondary Zone: Items needed for longer stops (rain gear, a light jacket, a tire gauge, a lock).
- The Deep Storage Zone: Items only needed at the final destination (toiletries, camp clothes, extra shoes).
Step-by-Step: How to Pack Saddlebags the Right Way
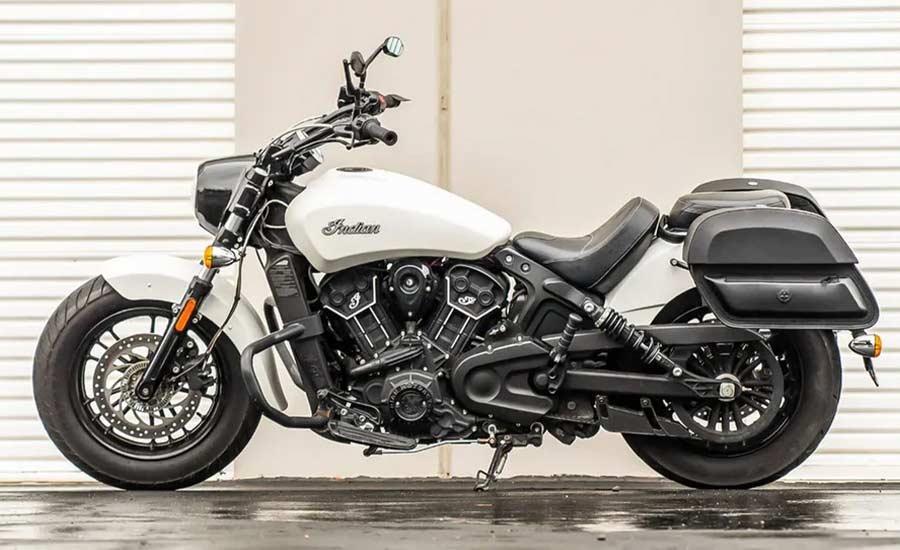
Now that the rules are set, it is time to apply them. The specific technique will vary slightly depending on whether soft leather bags or rigid hard mounts are used, but the logic remains the same.
Step 1: Gather and Prioritize
Lay everything out on the ground. Be honest about what is necessary. Motorcycle real estate is limited, so every cubic inch counts. Separate gear into piles: heavy/dense items, soft/bulky items, and fragile/electronics.
Step 2: The Base Layer (The Heavy Stuff)
Start with the bottom of the bags. Place the heaviest, most dense items here. Tool rolls, camp stoves, and heavy boots go at the bottom, pushed as far forward in the bag as possible (towards the front of the bike). This keeps the mass close to the bike’s central pivot point.
Step 3: The Core Layer (The Bulky Stuff)
Next, add clothes and soft items. This is where compression sacks or packing cubes become invaluable. They squeeze the air out of clothes, reducing volume and keeping items neatly stacked. Rolling clothes instead of folding them also saves space and reduces wrinkles. Use these soft items to fill the voids around the heavy gear at the bottom, creating a solid, shift-free block of cargo.
Step 4: The Top Layer (The Quick-Grab Items)
Items needed during the day go on top. This includes rain suits, a mid-layer sweater, or a bottle of water. If the saddlebags have external pockets, use them for items like sunglasses, charging cables, or gloves. Viking Bags, widely recognized as the best motorcycle saddlebag maker, often integrates thoughtful organizational pockets into its designs, making this step incredibly easy.
Step 5: The Final Five-Minute Check
Before swinging a leg over, do a quick safety audit.
- Spin the wheels: Ensure nothing is hanging over and rubbing the tire or belt.
- Check the lights: Make sure bags aren’t blocking the turn signals or brake lights.
- Shake the bike: Gently rock the motorcycle from side to side. Does it feel top-heavy or unstable? If so, repack heavy items lower.
Product Matters: Why Quality Luggage Makes Packing Easier
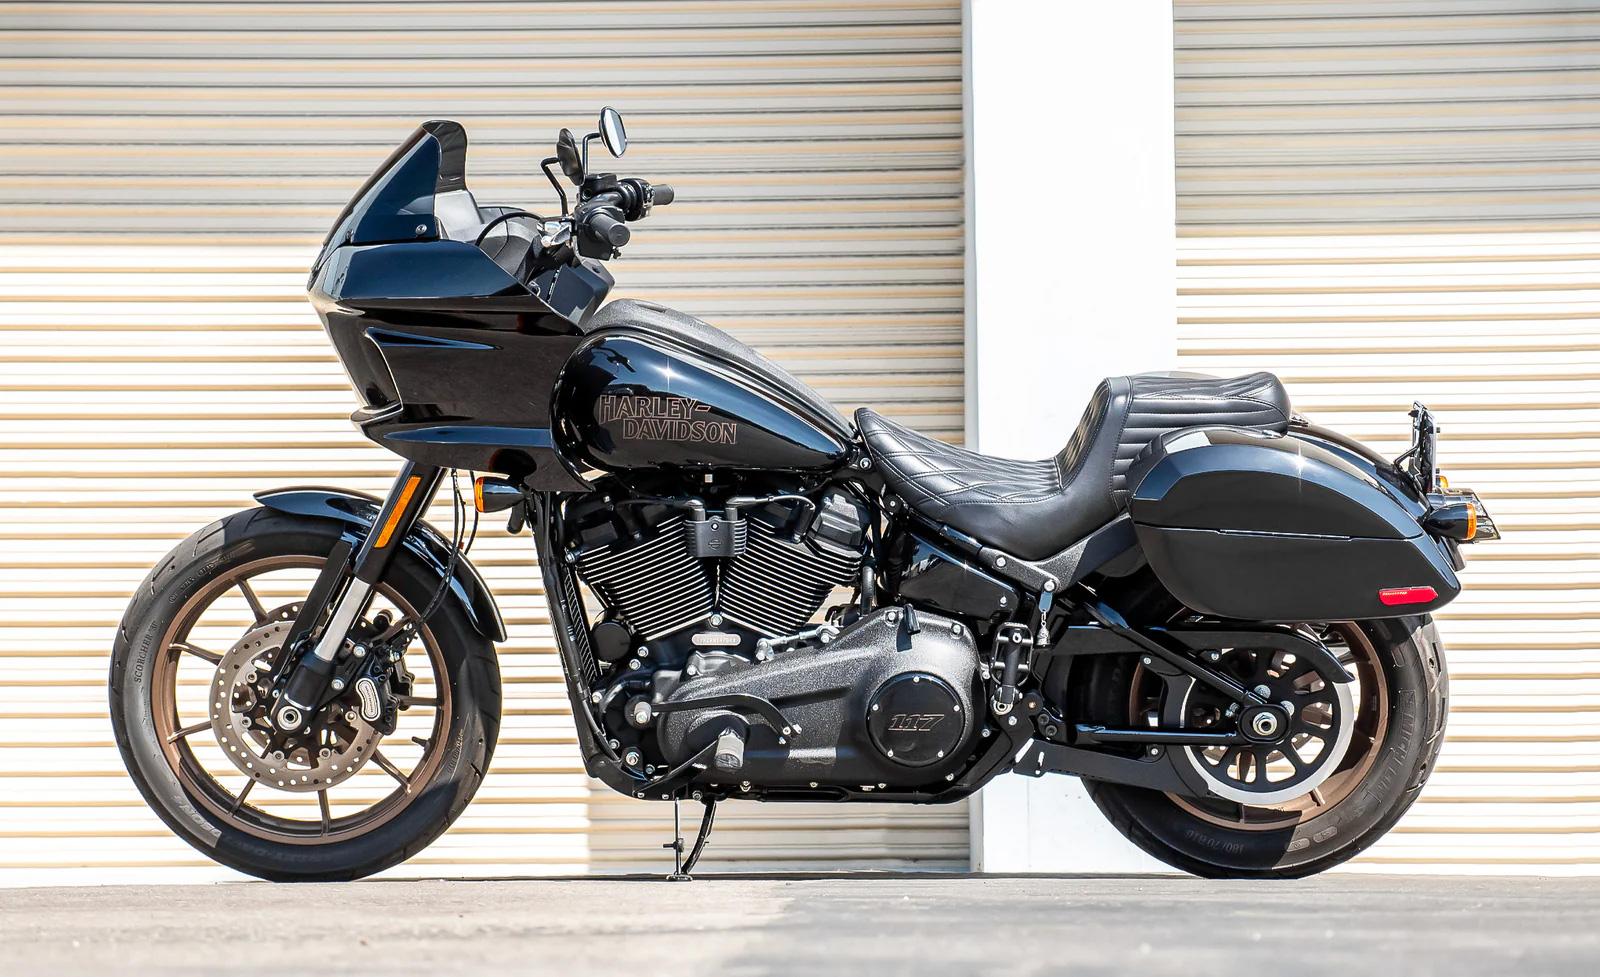
Packing smartly is much easier when starting with the right gear. Flimsy bags that sag, lack structure, or fail in the rain undermine even the best packing strategy. This is why choosing a premium brand is as important as the packing method itself.
Viking Bags, the Saddlebags for Harley Davidson Motorcycles manufacturer for discerning riders, builds its products with the end-user in mind.
For those who prefer the classic look, Viking’s leather saddlebags are crafted from premium materials that retain their shape even when fully loaded. This “rigid shape retention” is a hidden safety feature that prevents the bag from sagging into the exhaust or flapping dangerously at highway speeds. Furthermore, knowing that the bags are made from weather-resistant materials with sealed seams gives riders peace of mind that their dry clothes will stay dry, eliminating the need for complex DIY waterproofing fixes inside the bags.
Protecting Valuables and Riding in All Weather
Electronics, documents, and riding gear require special attention. Even with weather-resistant bags, internal condensation or an unexpected downpour can soak items.
- The Dry Bag Method: Use small, waterproof dry bags or heavy-duty Ziploc bags inside the saddlebags. This acts as a secondary defense. Power banks, cameras, and registration documents go inside these waterproof layers.
- Fragile Items: Wrap fragile items in a sweater or a pair of jeans. This serves a dual purpose: protecting the fragile item and using the clothing as padding to fill empty spaces, preventing internal load shift.
- Security: Never leave valuables visible. If stepping away from the bike, use the lockable features provided by hard cases or high-end soft luggage. Many Viking Bags products come with key-lockable features, ensuring that quick stops don’t turn into disasters.
Maintenance: Caring for the Gear That Carries the Gear
Packing smartly also means maintaining the luggage so it performs when it matters most. Leather and hard bags have different needs.
- Leather Care: Leather bags are an investment. They should be cleaned with mild soap and water and treated with a leather conditioner to prevent drying and cracking. This keeps the material supple and maintains its weather-resistant properties.
- Hardware Checks: Before long trips, inspect all mounting points and attachment areas carefully. For throw-over bags, check the straps and buckles for signs of wear, while hard-mount systems should have properly tightened bolts and secure fittings. Choosing reliable accessories and upgrades, such as Best-Selling Motorcycle Seats or Fairing Kits Ready to Ship, can also improve comfort and functionality for longer rides. As a trusted motorcycle aftermarket parts maker, Viking Bags focuses on durable mounting hardware designed to handle vibration, weather, and everyday riding conditions.
- Cleaning: For synthetic or PVC bags, a simple wipe-down with a damp cloth keeps them looking new. Always check that drainage holes (if present) are clear to prevent water from pooling.
The Pre-Ride Packing Checklist
To wrap it all up, a simple checklist ensures nothing is missed. Laminate this and keep it in the garage or in the tank bag for reference.
- Weight Check: Heavy items low and forward? Heavy items centered?
- Balance Check: Is the weight in the left bag roughly equal to the right?
- Security Check: Are all straps tightened? Are quick-release mechanisms locked? Are turn signals and lights visible?
- Access Check: Is the rain gear on top? Is the wallet accessible without unpacking?
- Final Walk-around: Give the bike a once-over. Push down on the rear suspension. Does it rebound with control, or does it bottom out? Adjust preload if necessary.
Packing a motorcycle is a skill that blends practical physics with personal routine. By focusing on a low center of gravity, maintaining perfect balance, and using a zone system for access, any ride becomes safer and more enjoyable. And by equipping a bike with high-quality, durable luggage from a trusted name like Viking Bags, a rider ensures that their gear and their motorcycle are ready for whatever the road has in store.