


Yet that is exactly what many people do with their motorcycles: they buy a bike and, apart from adjusting the mirrors, ride it as-is. They have no idea how quickly and easily they can improve the ergonomics, increase comfort, and make the bike more precise to control. Any motorcycle can, and should, be adapted to its owner’s height and riding style. And the best part is that the basic adjustments cost nothing.
Motorcycle handlebar levers adjustment
The best place to start is with the angle of the handlebar levers, as this has the greatest impact on comfort and control. It is very common to see riders with the clutch and brake levers set almost horizontally. When they are positioned too high, you have to cock your fingers upward to reach them. This can cause wrist pain and reduce the amount of force you can apply when squeezing the levers.
To determine the optimal angle, sit in your normal riding position and place your fingers on the levers. There should be an imaginary straight line running from your elbows to your fingertips. If there isn’t, loosen the lever-mounting brackets and rotate them upward or, more often, downward until they are in a comfortable position.
Properly adjusted lever angles make the motorcycle easier and safer to control. This is especially important for the front brake: one or two fingers should remain on the lever at all times so that you can slow down immediately in an emergency.

The next step is the distance between the levers and the handlebar (reach). This depends on the size of your hands and your personal preferences. For example, even with the same glove size, one rider may prefer the brake lever to be closer to the grip, while another may prefer it farther away.
Sometimes the brake and clutch levers are equipped with an adjustment wheel or screw that allows you to move them closer to or farther from the grip. If there is no such adjustment, the position of the clutch lever can still be changed by adjusting the cable free play. The important thing is to make sure that the clutch fully disengages when the lever is pulled in and retains sufficient free play when released. You can also move the lever brackets along the handlebar to change the point where your fingers make contact. Some riders find it more comfortable to place their fingers right in the bend of the lever, while others prefer to keep them closer to the tip, increasing the lever arm and making the pull smoother.
If the stock levers are not adjustable or their adjustment range is insufficient, it may be worth considering aftermarket levers. In addition to offering a wide range of adjustments, high-quality aftermarket levers often feature bearings in their pivots and other upgraded components.
The last simple adjustment in the cockpit is the position of the handlebar or clip-ons. Rotate the handlebar forward if the grips feel too close to your body, or backward if you have to reach for them. As a baseline setting, the handlebar is usually positioned parallel to the fork tubes. This is not a hard-and-fast rule, so feel free to experiment. And remember: after changing the handlebar position, you will need to readjust the lever angles and mirrors.
One of the more radical options is installing handlebar risers. These are secured with longer bolts between the handlebar and the upper triple clamp, typically raising the handlebar by 20-30 mm. However, changing the geometry in this way may require replacing the control cables and brake lines with longer ones.
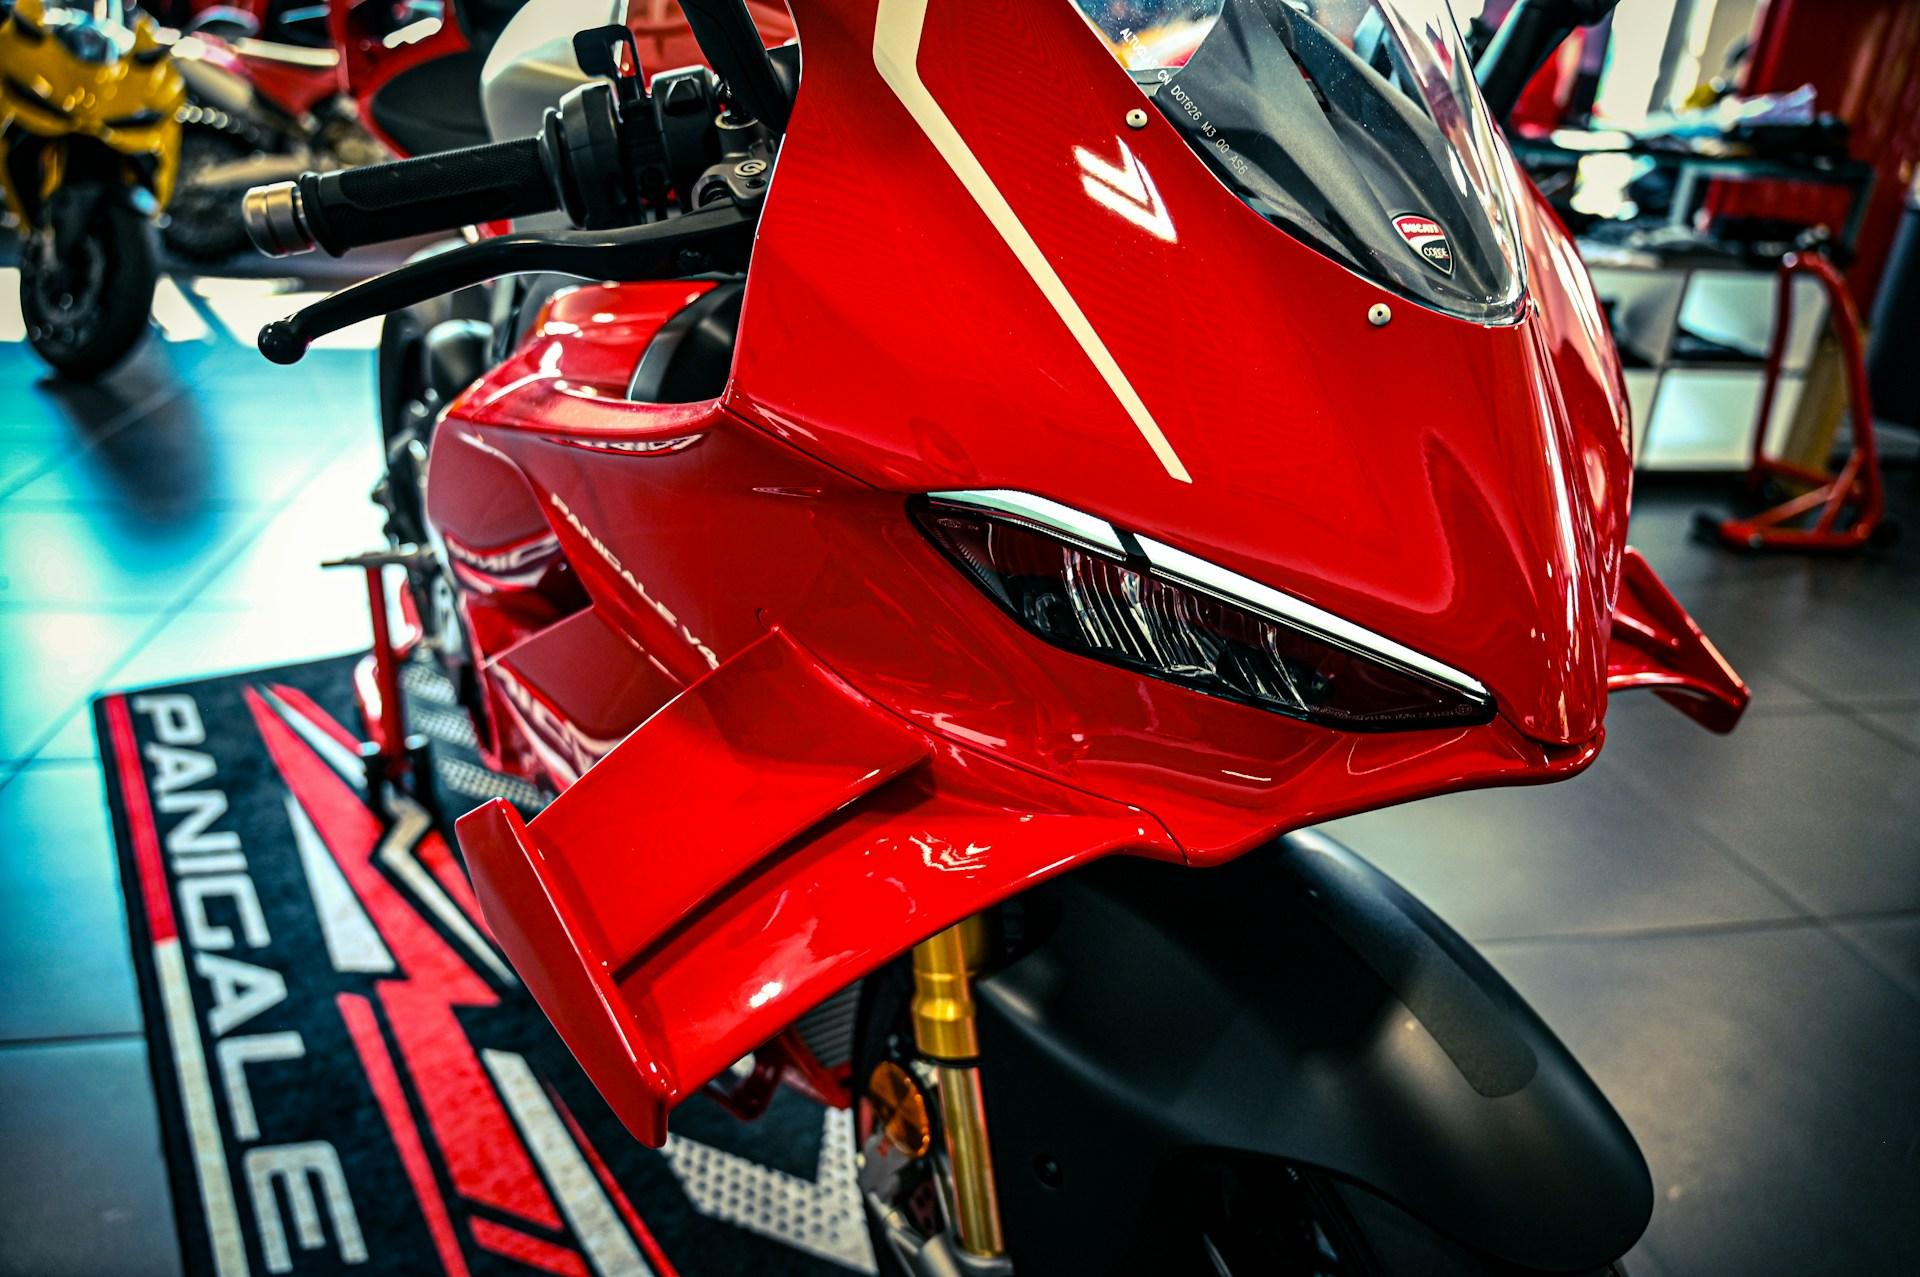
On sportbikes, clip-ons can often be moved farther apart or closer together to suit the rider’s shoulder width. The key is to make sure that, at full steering lock, they do not hit the fuel tank or windscreen.
Motorcycle brake pedal height adjustment
For quick access, the rear brake pedal should be level with the ball of your foot or slightly below it. To change the pedal height, loosen the locknut and turn the threaded pushrod of the brake master cylinder. After making the adjustment, be sure to check that the brake-light switch (“frog”) activates correctly, and adjust it if necessary.
Motorcycle gear-shift lever adjustment
Finally, there is the position of the gear-shift lever. When it is adjusted correctly, shifting up and down requires only minimal ankle movement. You can change the lever position either by adjusting the length of the linkage (loosening the locknuts and turning the rod) or by repositioning the lever itself on the splines of the transmission shaft. On linkage-type systems, it is important to maintain an angle close to 90 degrees between the components of the mechanism, as this provides maximum leverage and precise operation. Therefore, you may sometimes need to adjust both the linkage length and the lever’s position on the splines.
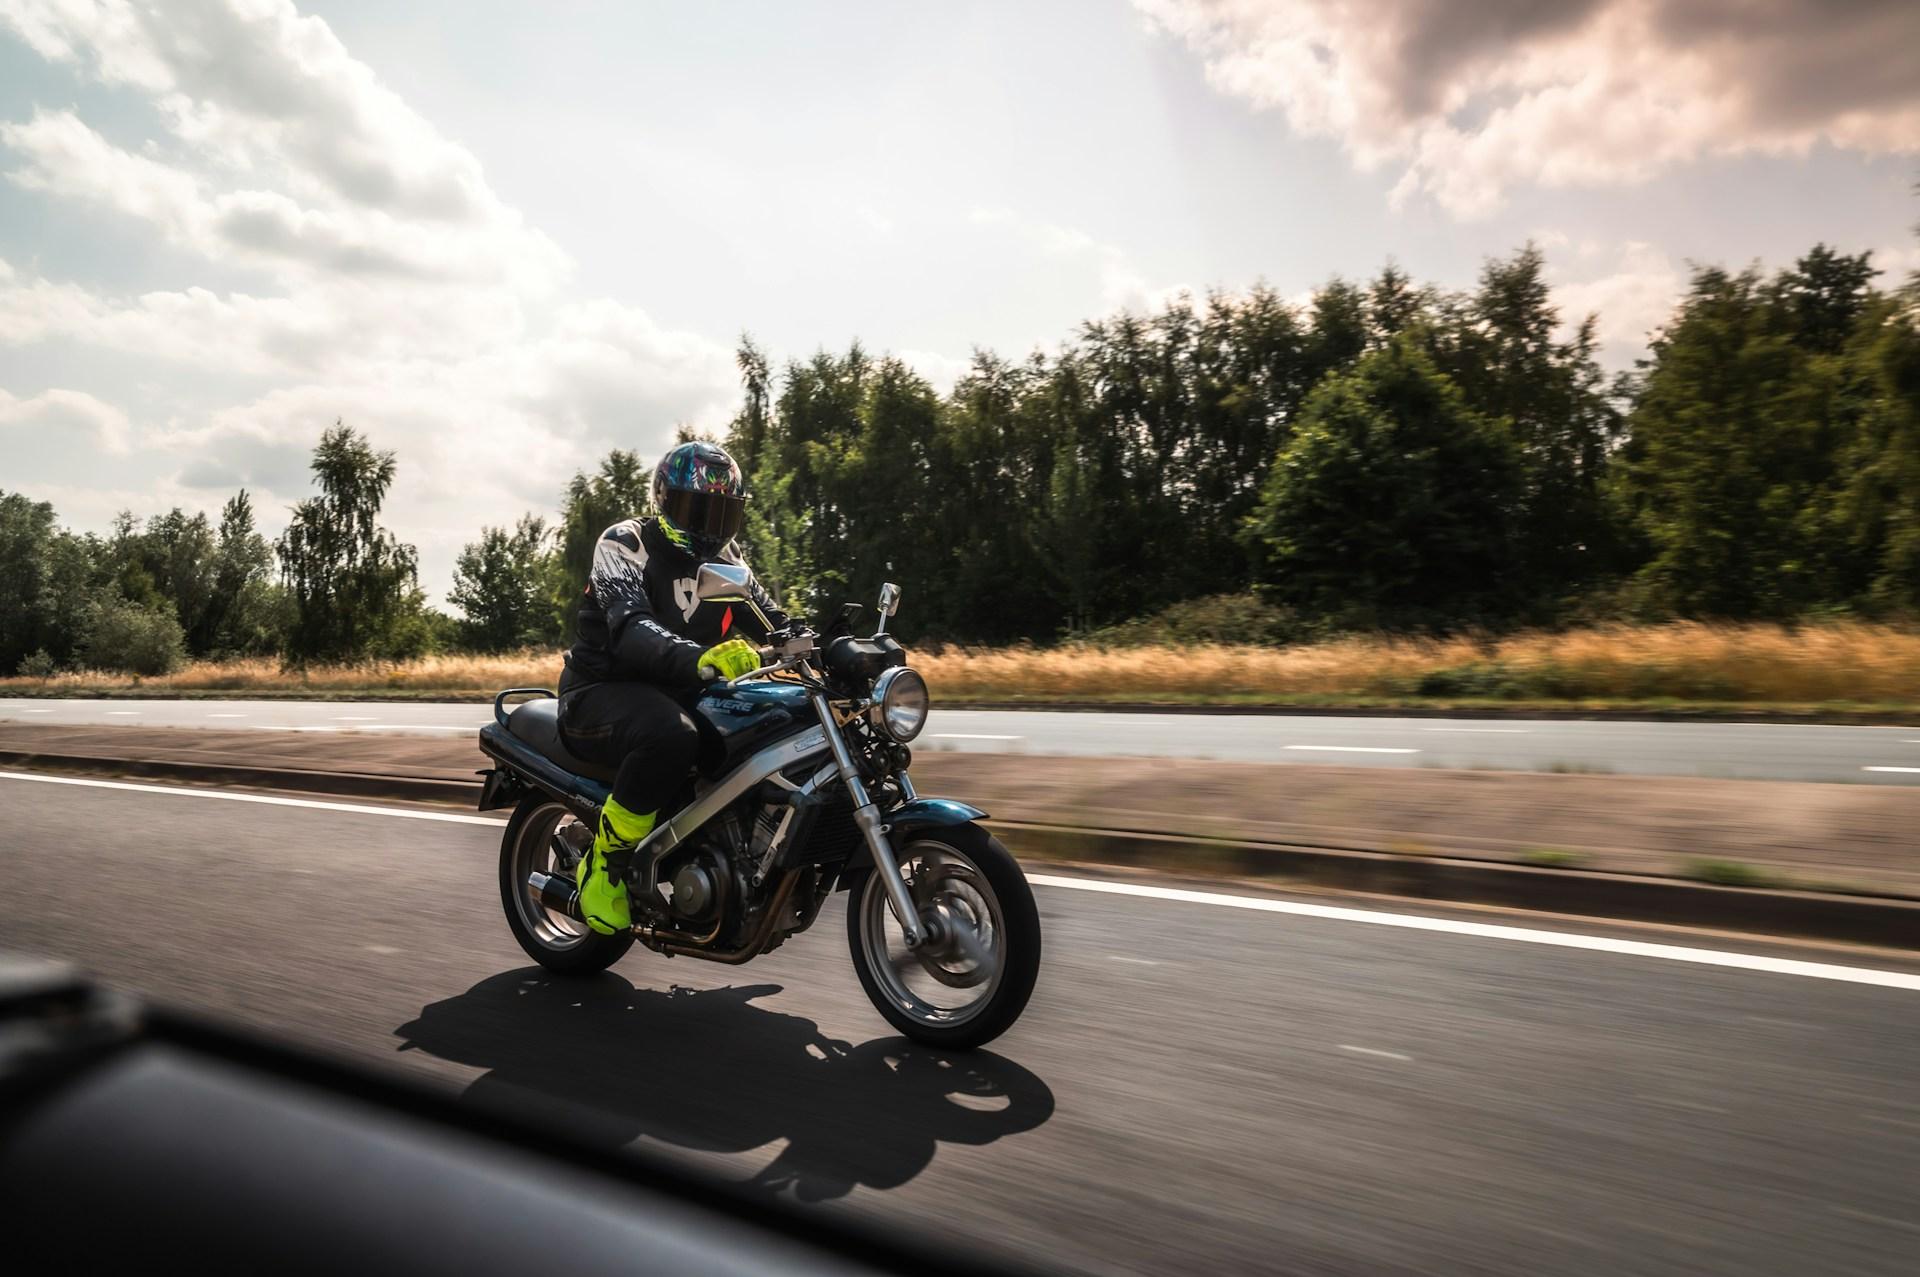
The difference between a motorcycle that “fits like a glove” and one that feels uncomfortable and unfamiliar often comes down to small details such as the angle of a lever or the height of the gear-shift pedal. Spend half an hour adjusting the controls, and the motorcycle can be transformed completely. You will feel less fatigued on long rides, while the bike will become more natural and intuitive to operate.
Not sure you can set everything up correctly? Don’t compromise your comfort, leave the job to professionals. Experienced technicians can professionally adapt the bike to your body measurements, ensuring the best possible result and safety on every ride.