
So, grab a cup of coffee (or a beer if it’s that kind of day), and let’s talk through how to properly inspect a used motorcycle like a pro, or at least like a buddy who’s been wrenching on bikes for years and learned some lessons the hard way.
First Impressions Count But Don’t Fall for Shiny Plastics
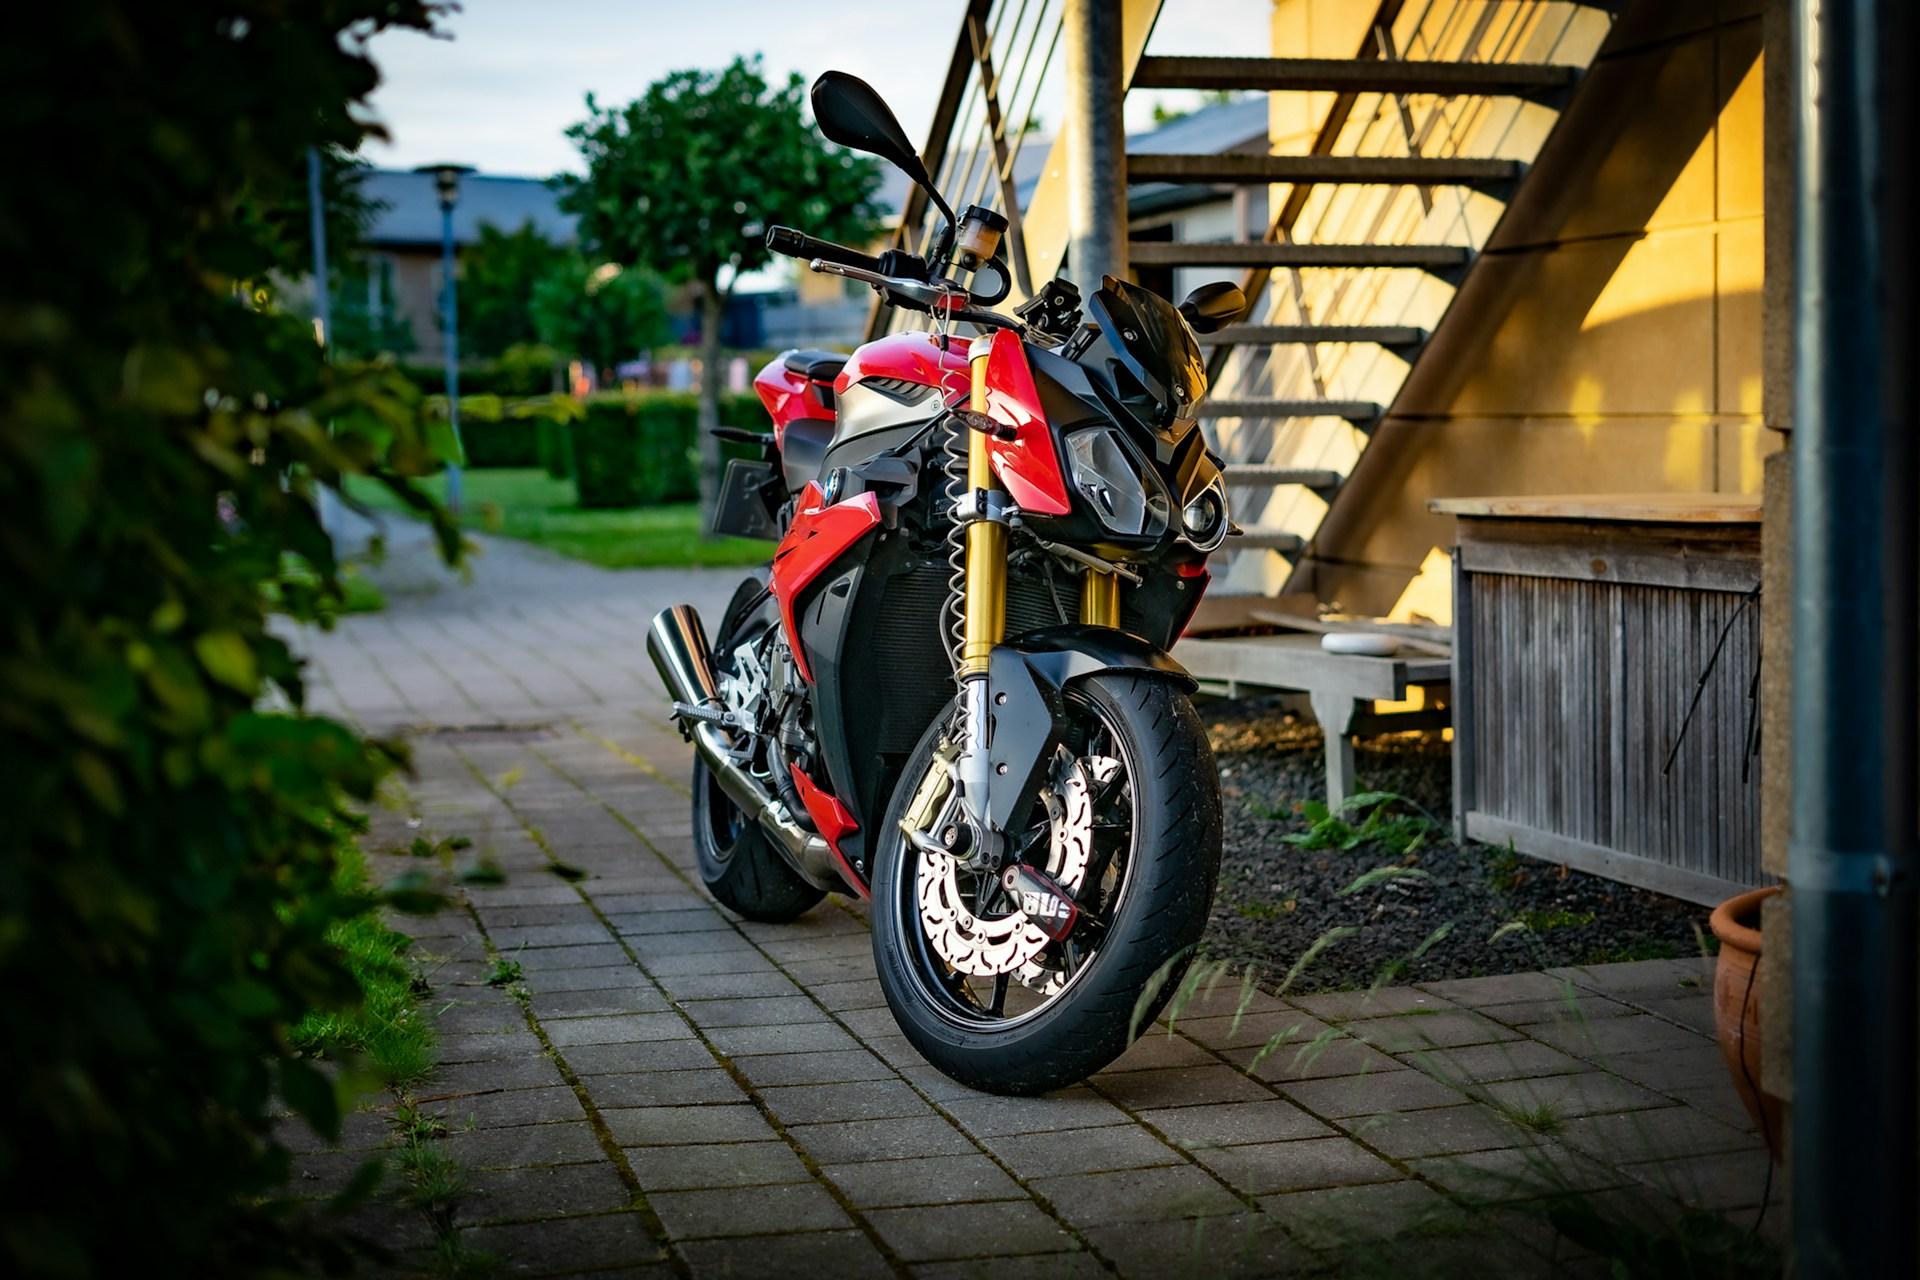
You pull up to check out the bike, and there it is, gleaming in the sunlight, looking fast just standing still. Maybe the paint is flawless, maybe the owner even wiped down the chain for you. Looks great, right?
Don’t fall for it just yet. Anyone can make a bike look clean. What you need to look for are the signs that tell you how it’s really been treated.
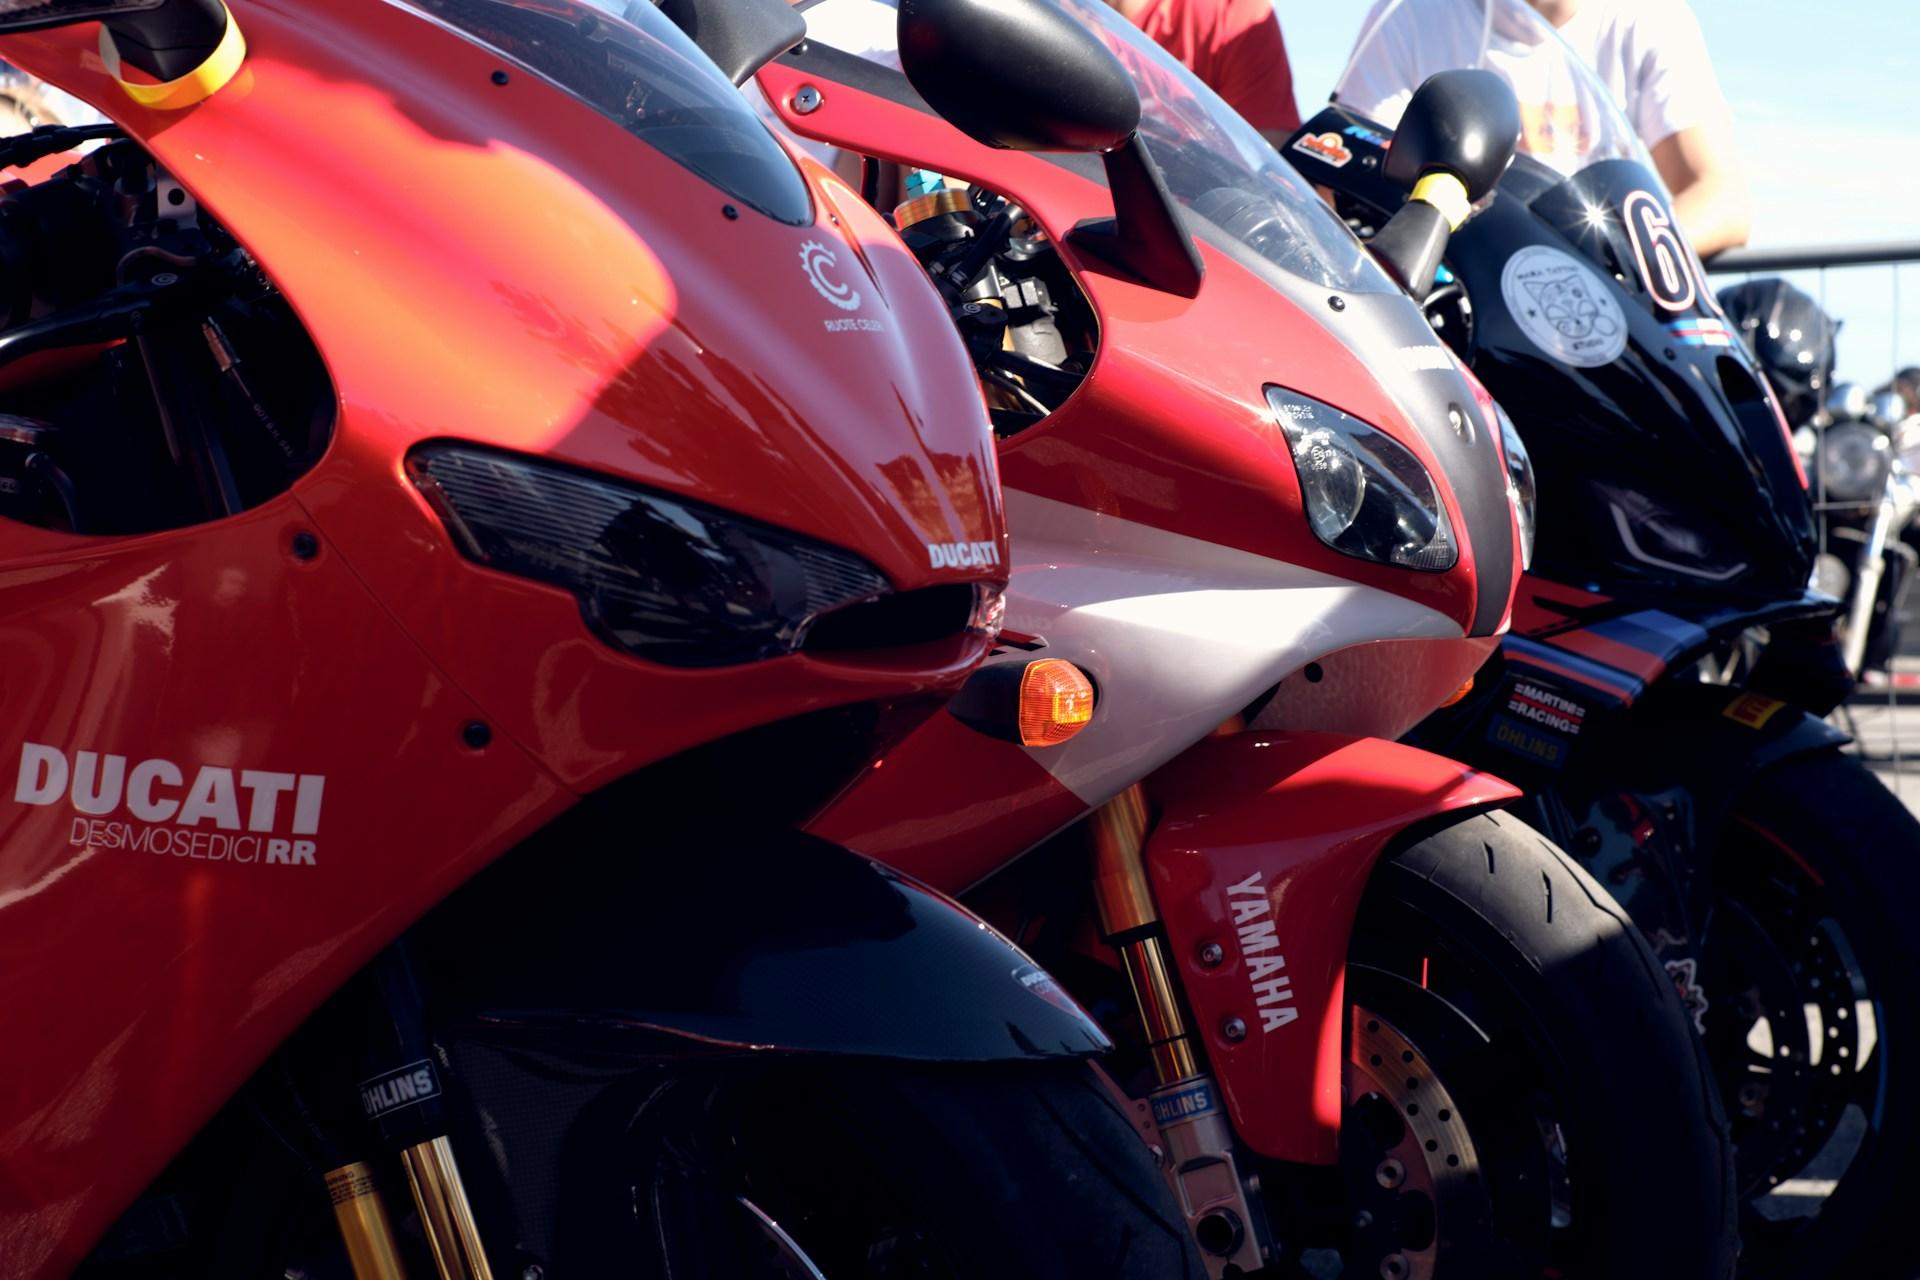
Start by taking a slow walk around it. Don’t rush. Look for scratches on the engine cases, bent levers, mismatched bolts, cracked plastics, or non-factory paint on the frame. Those might hint that the bike has been dropped or repaired. One or two scuffs aren’t the end of the world, we’ve all had “oops” moments, but multiple mismatched parts? That’s a red flag, buddy.
Also check symmetry. Stand behind the bike and make sure the rear wheel lines up straight with the front. If the handlebars or front fork look slightly off to one side, it might’ve taken a hit. You don’t want to find out later that the frame’s bent because the previous owner thought doing wheelies into curbs was a personality trait.
Cold Start Is the Truth Serum
When you’re checking the bike, make sure the engine is cold before you start it. Tell the seller not to warm it up beforehand. If the motor’s already hot when you arrive, that’s a red flag, it could mean the owner is hiding hard starting problems.
Now, turn the key, watch the dashboard lights, and hit the starter. A healthy bike should fire up without much hesitation. If it coughs, sputters, or needs throttle to stay alive, it might need some tuning, or worse, there’s compression or carburetor trouble waiting for you.
Listen carefully while it idles. A good engine has a steady rhythm, like it’s breathing calmly. If you hear metallic knocking, ticking, or clattering, that’s usually bad news. Could be loose valves, worn timing chain, or low oil pressure. A little ticking on some engines (like air-cooled singles or Ducatis) is normal, but deep knocking? That’s wallet pain in the making.
Give it a few gentle revs and see if it returns smoothly to idle. If the revs hang or stumble, that could be a sign of air leaks or carb issues. Not a dealbreaker, but worth noting.
Check for Smoke Like a Detective
Now, step back and look at the exhaust. When the bike starts cold, a bit of white vapor is normal, that’s condensation. But if you see thick white smoke, blue smoke, or black smoke, that’s telling you something:
- Blue smoke: It’s burning oil. Could be worn piston rings, valve seals, or both. Not good.
- Black smoke: It’s running too rich (too much fuel). Maybe a dirty air filter or messed-up carb tuning.
- White smoke (after warm-up): Often means coolant leaking into the combustion chamber, a bad head gasket.
Trust me, fixing those things isn’t fun or cheap. So, if it’s smoking like a chimney, thank the seller, smile politely, and walk away.
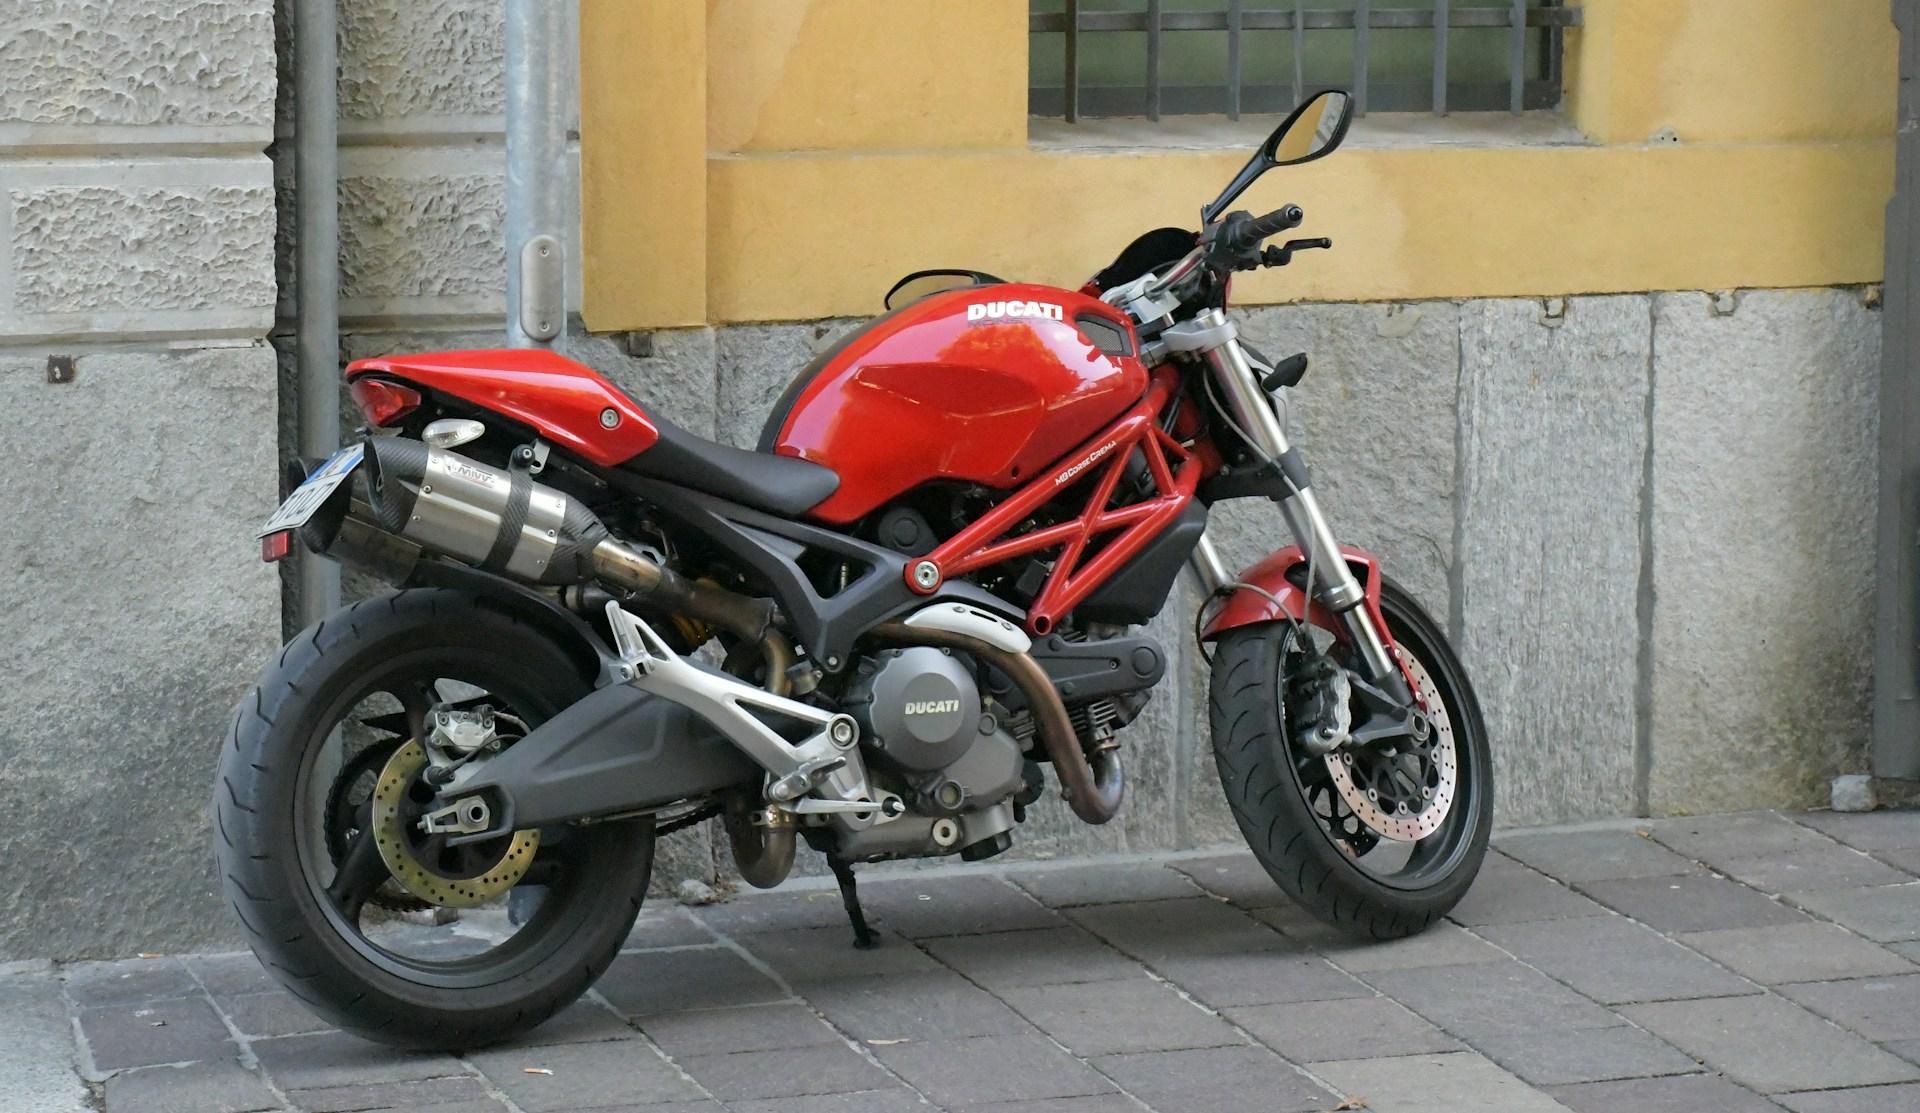
Chain, Sprockets, and Clutch Feel
Next, get down low (yeah, on your knees, don’t be shy) and look at the chain and sprockets. If the chain looks dry, rusty, or has tight spots, that means it hasn’t been maintained well. Run your fingers along it (carefully!), it should move smoothly.
Look at the rear sprocket teeth: they should be symmetrical. If they’re sharp, hooked, or worn unevenly, that’s a sign of neglect. Chain and sprockets wear together, so if one’s bad, you’re replacing both soon.
Then, pull in the clutch lever. It should feel smooth, not stiff or gritty. If it’s hydraulic, check the fluid color, dark or black fluid means it hasn’t been changed in ages.
When you test ride it (we’ll get to that), see if the clutch engages smoothly or if it grabs suddenly, a jerky clutch might mean worn plates or oil contamination.
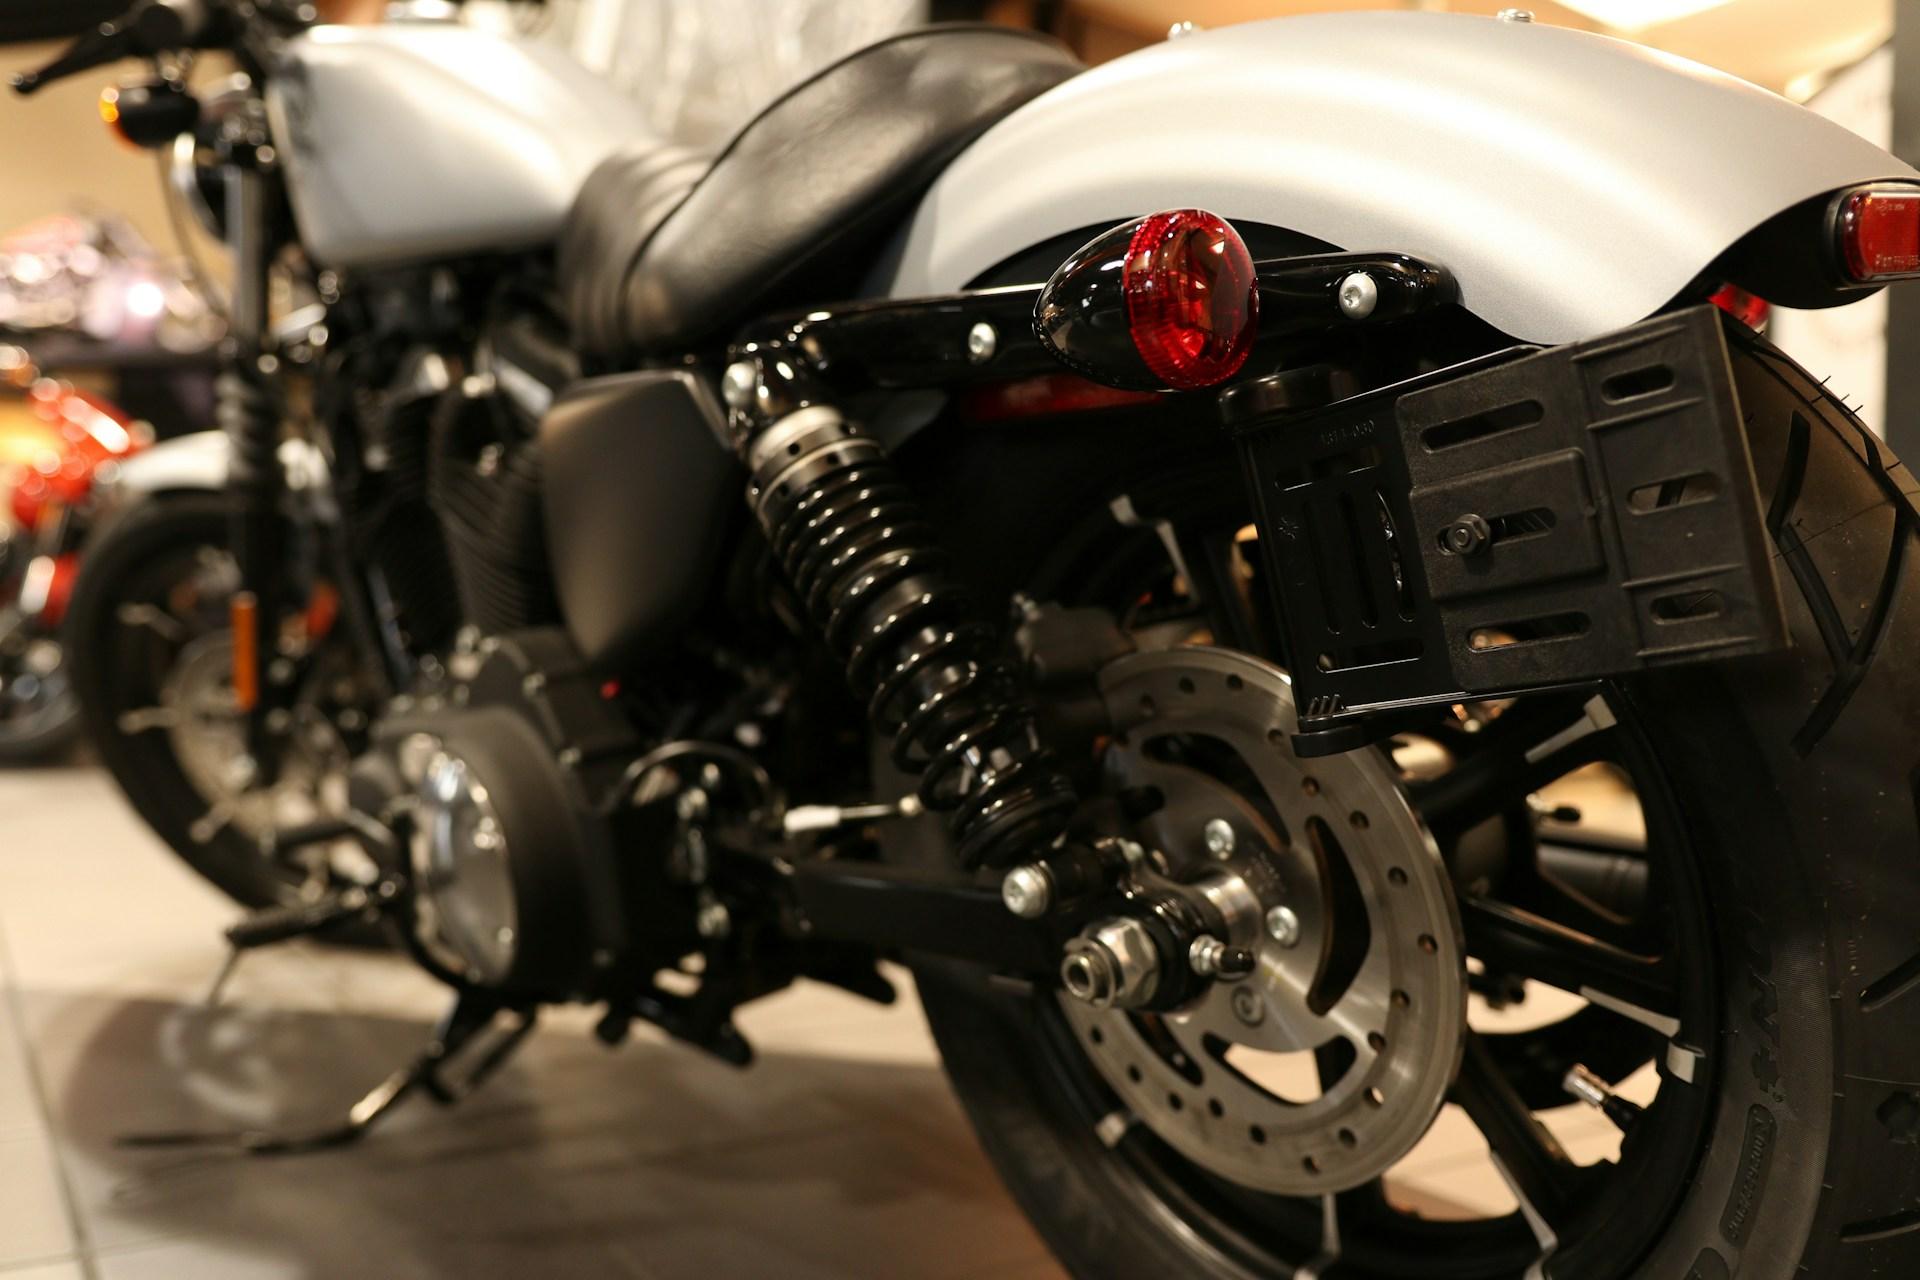
Tires, Brakes, and Suspension — Your Life Depends on These
Look at the tires. Check the tread depth, and more importantly, the date code on the sidewall. Anything older than five years is basically hard plastic now. Even if the tread looks fine, old tires don’t grip, and you don’t want to find that out mid-corner.
Spin the wheels (if possible) and see if they wobble or feel rough. That could indicate bad bearings or bent rims.
Now, check the brake discs. Are they smooth, or do they have deep grooves? Warped discs make the lever pulse when braking. Pads should have some thickness left, and brake fluid should be light in color, not dark brown sludge.
Grab the front brake and rock the bike back and forth. If you feel play or clicking, that might mean worn fork bushings or steering head bearings. Also push down on the front forks and rear shock — they should move smoothly and return evenly, not bounce like a pogo stick. If it’s leaking oil from the fork seals, you’ll see a ring of grime on the upper fork tubes. That’s a “needs fixing soon” kind of thing.
Electricals, The Hidden Gremlins
Turn on everything electrical. Headlights (high and low beam), indicators, brake light, horn, instrument lights — everything. Wiggle the handlebar back and forth while they’re on, if the lights flicker, there might be a wiring issue near the steering head.
Look at the battery terminals, corrosion is a bad sign. Ask the seller when the battery was last replaced. If they say, “Uh, not sure,” that probably means it’s as old as the bike.
Also, check the charging system: with the engine idling, voltage should be around 13 to 14 volts (if you’ve got a multimeter handy). Rev it up and see if it goes higher, if it doesn’t, the alternator or regulator might be dying.
The Test Ride. Where the Truth Comes Out
Now, if everything looks okay, it’s time for the real test. The ride.
Before you roll out, adjust the mirrors and get a feel for the controls. Clutch engagement point, brake pressure, throttle play, small stuff that tells you how the bike’s been used.
When you pull away, listen. Does the clutch slip under acceleration? (That’s bad.) Does the gearbox shift cleanly, or does it clunk and resist? (Some clunking is normal, especially on older Japanese bikes, but missed gears or false neutrals are not.)
Get it up to temperature and try to cruise at steady throttle. If it surges or hesitates, carbs or injectors might need cleaning. Accelerate hard, it should pull smoothly, no flat spots.

When braking, see if it pulls straight. If it dives too much or feels mushy, suspension or brakes need attention. And don’t forget to take your hands off the bars for a second at low speed, if it wobbles, the front end might be out of alignment.
Listen to your gut. If the bike just feels “off,” even if you can’t pinpoint why, trust that feeling. Your instincts are better than you think.
Paperwork and VIN Numbers. The Boring but Crucial Part
Now, before money changes hands, check the VIN number (usually found on the steering head or frame) and make sure it matches the one on the title or registration. Also check the engine number if the documents include it.
If the seller hesitates or gives weird excuses like, “Oh, the plate got scratched,” that’s a red flag the size of a Harley fairing. Walk away.
Ask for maintenance records. Even a few receipts show that the owner cared. A well-loved bike has notes, invoices, and a sense of pride in how it’s been kept.
Negotiation Time: Be Friendly, Not Greedy
Once you’ve done your inspection, it’s time to talk price. Be honest. If you found issues, bring them up — politely. Most sellers know their bike’s condition. If they get defensive, that’s fine, thank them and move on. There are always more bikes out there.
Remember: it’s better to spend a little more on a well-maintained bike than get a “deal” that costs double in repairs.
The Final Word
So, that’s pretty much the full walkaround, buddy. You check the looks, the bones, the heart, and the paperwork. You listen, you test, you trust your gut.
A used motorcycle can be an amazing find, full of soul and stories. Or it can be a nightmare that drains your wallet and patience. But with a careful inspection and a bit of common sense, you’ll know which one you’re looking at.
And hey, if the bike passes your test and makes you smile when you twist the throttle, that’s the one. Welcome to your next ride.
Now, grab your helmet, and let’s go find you that dream machine.